


Bunny ears… but make them EXTRA! Some of my girlfriends and I over on Instagram shared a handful of easy bunny ear DIY’s to add a little extra flair to the most popular Easter photo prop & I figured it might be helpful to see how simple my fringe bunny ears were to make!
First up, gather your supplies:
Marker for Tracing

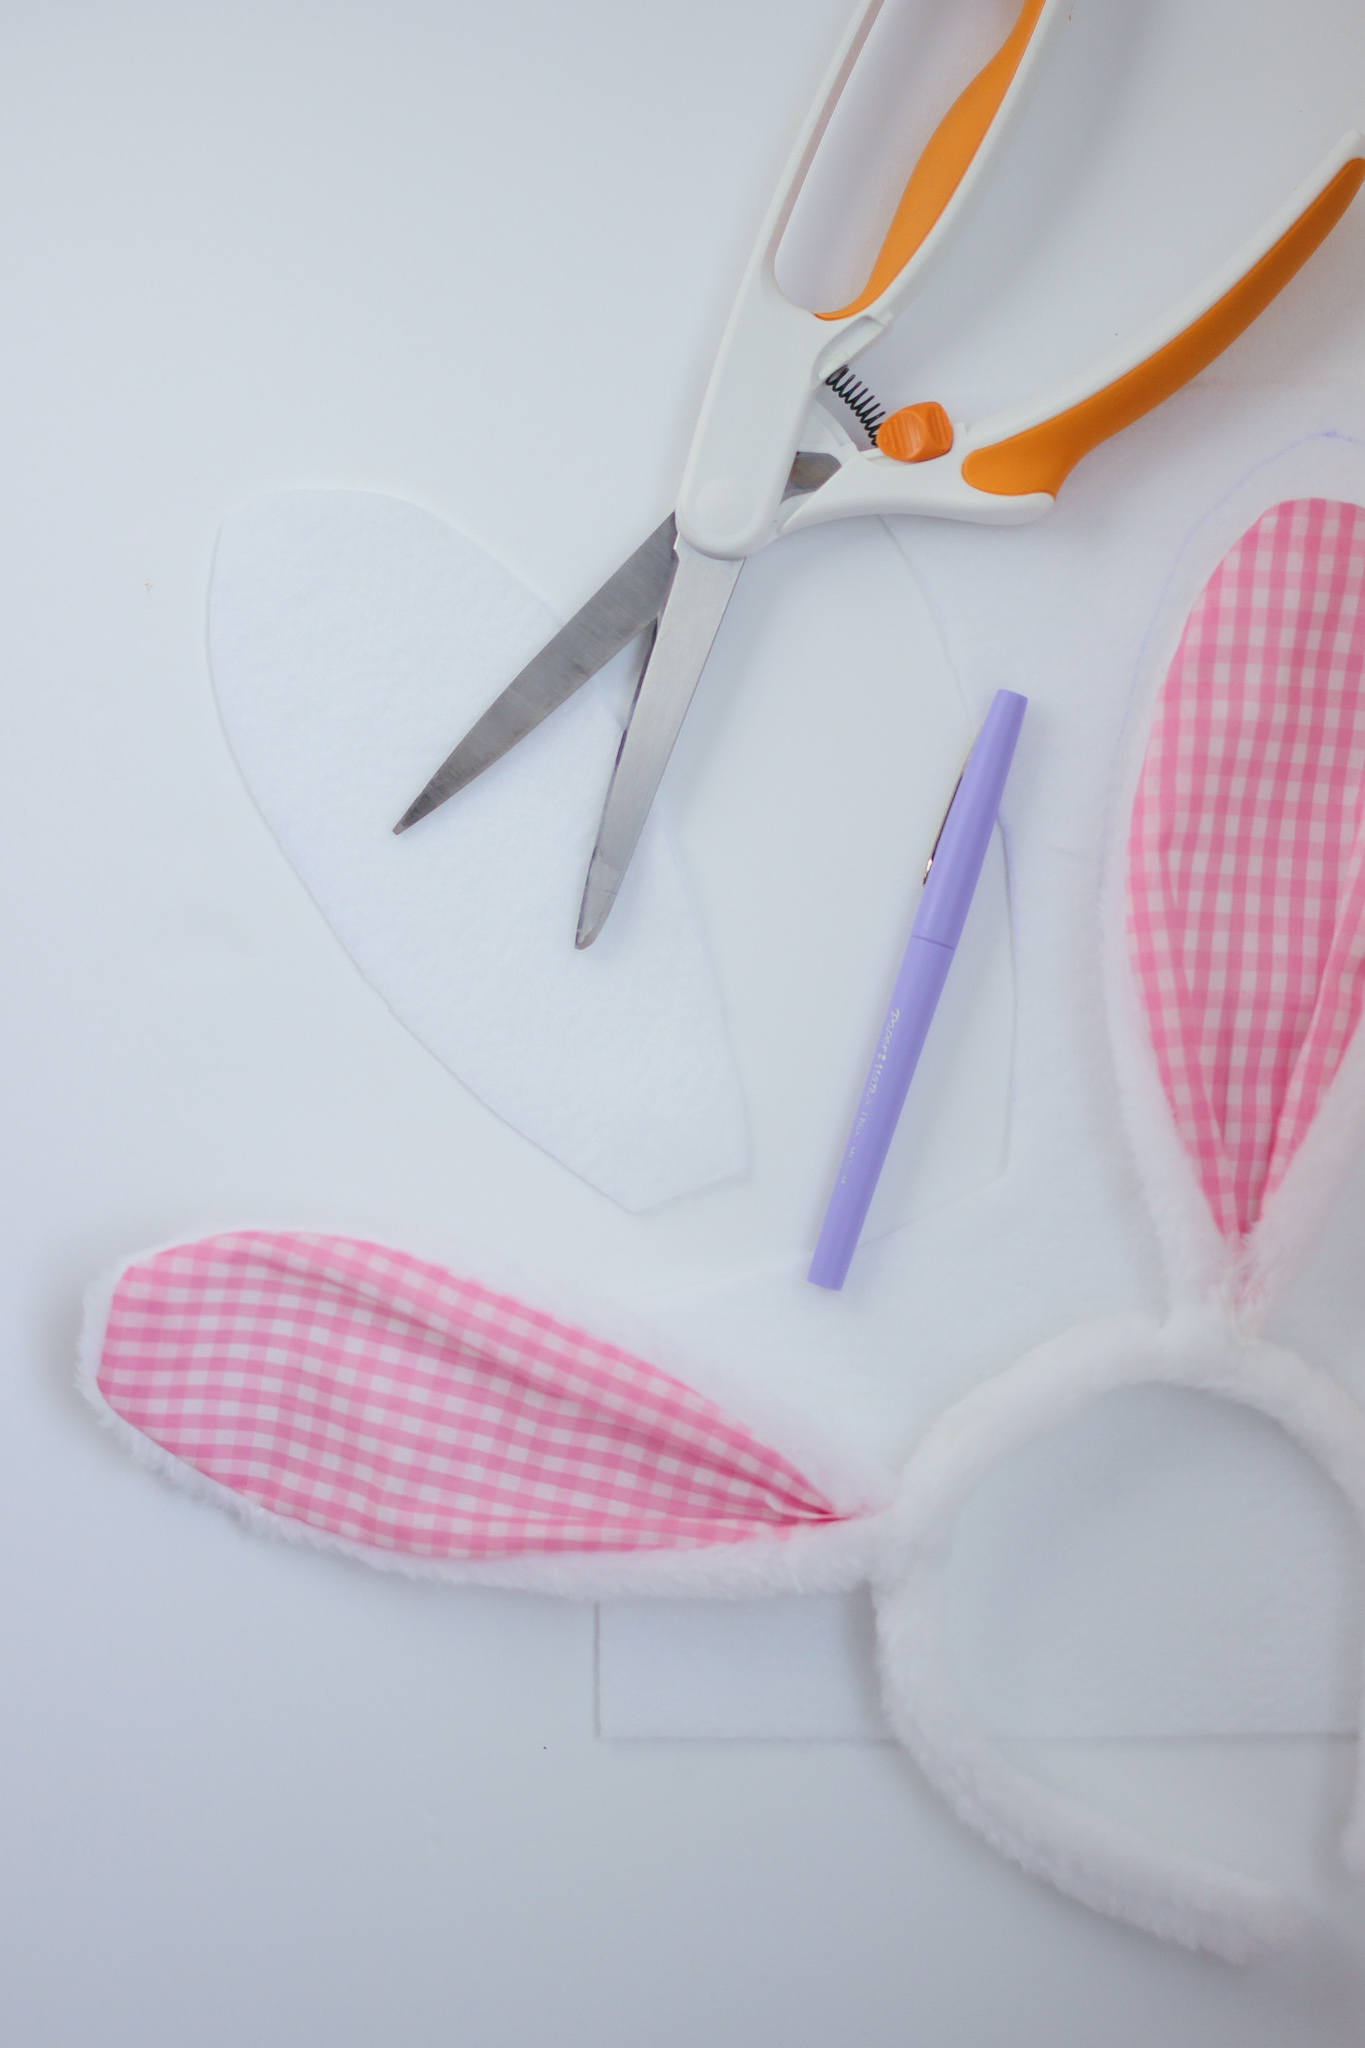
Step 1: I used a piece of white felt as my base for my rainbow fringe felt- I did a rough tracing of my bunny ear on thick white felt & cut it out with the BEST craft scissors ever.


Step 2: Repeat this process on each of your pieces of colored felt!

Step 3: Now comes the fun part- cutting your fringe! I wasn’t exact with my fringe, I just eyeballed it to all be about the same length. After I had all of my fringe cut, I did cut off the extra felt above the fringe, this way it won’t get super thick, making your ears weigh a bit too much!


Step 4: Starting from the bottom, I added a line of hot glue above the fringe and stuck it down to my base, the white ear I traced at the very beginning!

Step 5: After gluing all of your fringe down, flip your white ear over & generously apply hot glue, especially to the edges and apply to your bunny ears!

Ta-da, all done! Just a little tracing, cutting & gluing and you have the cutest pair of bunny ears to use as an Easter photo prop or even decor!

For more step-to-step instructions, you can check out my Reel, HERE!

Don’t forget to follow our daily adventures on Instagram and if you’re new here, welcome, here are a few popular posts on the Snyder Family Co. Blog!


0